
I like to draw and I’ve always found digital art captivating. Never join an art school but I’m sharing as much as I can today on how I draw with an iPad, an iPad Pencil and an application called procreate.
If you like to draw too, you might understand this. No matter how much time I spend on drawing, there’s always something new to learn. Sometimes, drawing is like enduring the tough and boring parts for some fun time. However, I think that’s one of the reasons why it is addictive.
This article is divided into 5 parts. They are the steps I take to create a drawing.

1. Figure out your things
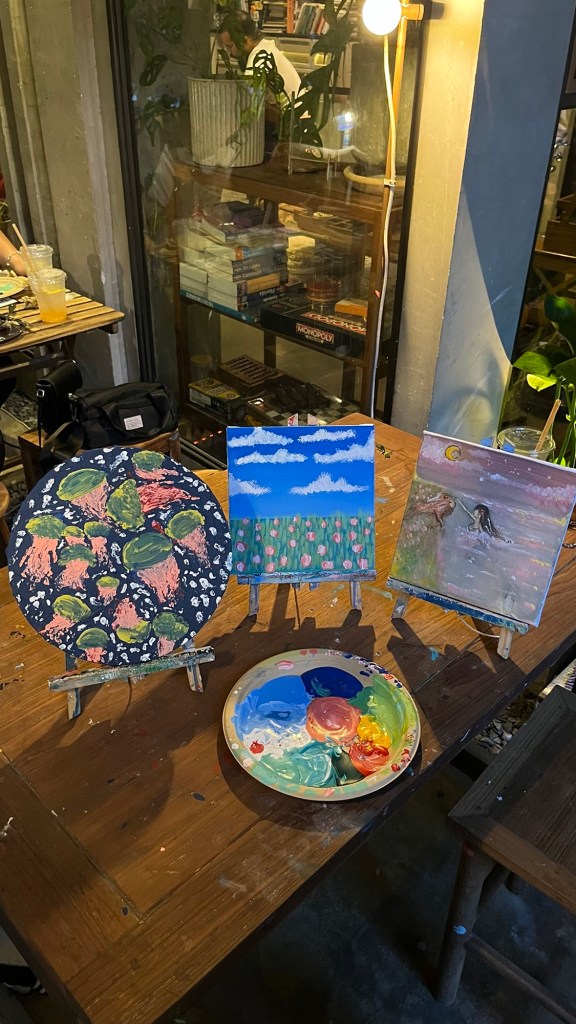
Get some light-hearted trials. It’s important to start with a clear idea.
When you’re not sure what to draw, of course, you will find it doesn’t go as smoothly as it should or spend too much time pushing. You may have too many things at once or nothing at all. Do not keep pushing and ending up losing the sleep your body deserves. Instead, make art with friends to avoid overthinking (and spending too much time).
Make it fun. Join a workshop, do something that doesn’t take hours. That’s how I’m positive about what style and color I can and want to draw (and vice versa).

Relationships are the key, go out with your people because they remember you and will help you remember yourself. If you like no people, I think nature or animals work too.
2. Make a color palette
Or find one online. Make use of your good taste. Choose your favorite red, blue, and yellow and blend to get other colors. White shouldn’t be white #ffffff, try a slightly darker shade with your favorite hue. Similarly, black shouldn’t be black #000000.
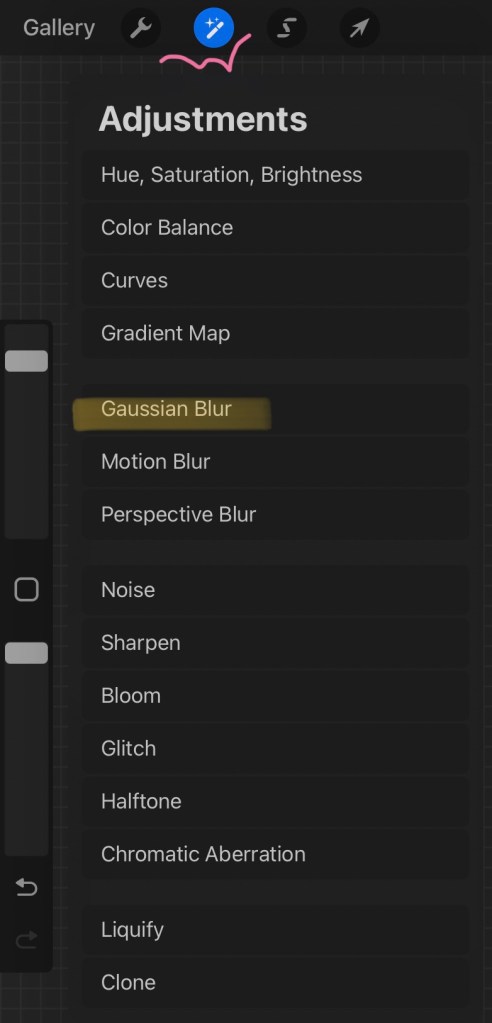
To blend different colors together in procreate, I use the smudge tool and the Gaussian blur.


Note that there is no need to use a new different palette at all times, reuse if you still like it.
3. Do some research
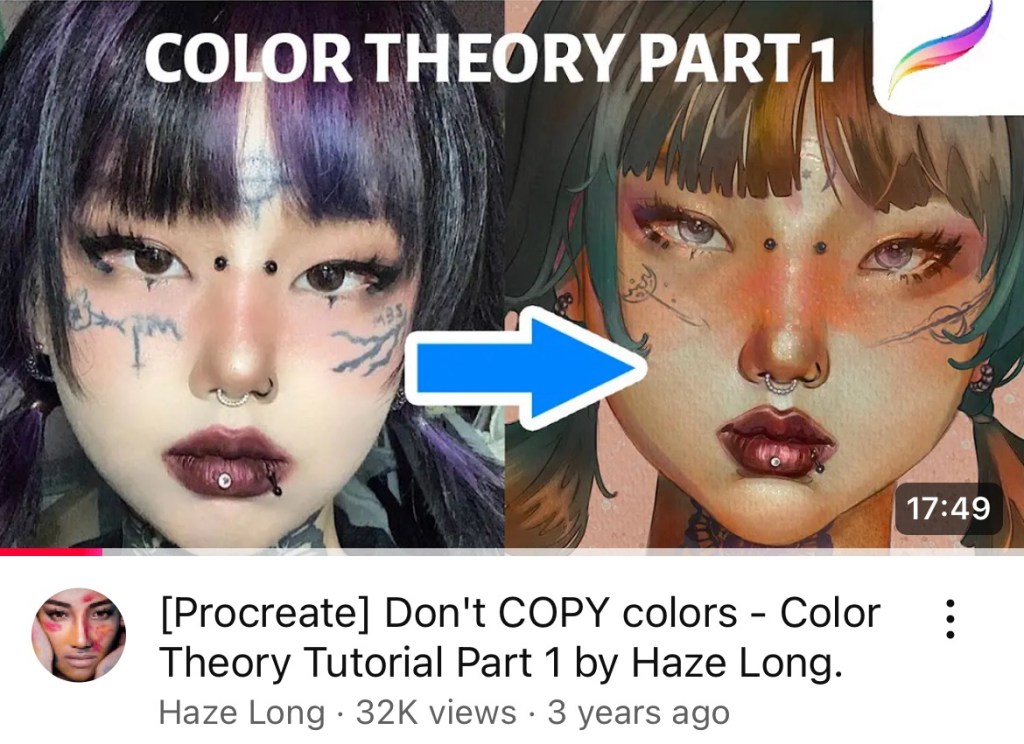
First, think about the purpose and the size. Then, look for references for colors, shapes, shadows on search engines or Pinterest. It’s not cheating, those references are your mentors. If that makes you feel bad, photos from your phone are good too.
References will save you a lot of time and confusion especially when working on challenging parts such as the hand, the fingers, and the feet (eww).

4. Draw the lines and drop in the colors
If you’re a very accurate or structural person, you’re going to love the drawing guide. With the drawing guide, you are able to draw over the grid, set the accurate perspective, and make a symmetrical line.

Get into it. My suggestion is to choose a darker color for the line and to use the opposite color (also called complementary) together for coloring. It’s best to separate the layer of the line from the rest.
After I paint or drop the color for every part, I use the alpha lock and clipping mask to finish up. Use them to exclude the area you’re not working on.
When a layer is in the alpha lock mode, you can only make changes inside what’s already there.

Similarly, when a layer is in the clipping mask mode, you can only make changes inside what’s already painted in the layer below (the layer it clips).
For shadows, convenience is a multiply layer. Clip it (clipping mask) so you don’t have to delete what’s accidentally out of line.
If multiply is for shadows, overlay is for texture. Use an overlay layer to add more dynamic to the surface.
To copy, tap the selection tool -> select the area you want to copy. To paste, go to actions -> add -> paste. Make sure you copy the right layer.
The selection tool also allows you to rotate the selected area.

Another suggestion: Don’t just draw lines over the ref. It’s not that bad, but drawing what you see is more interesting and going to look better too.


5. Try different shades until satisfied
Time to go for what you’ve had in your head. Don’t stop until you get it! Try different color pairs. Add details to the clothes and the hair. If you want to fix further and go crazy but cannot let go of the charm of the unfixed, go to setting -> add -> copy canvas. Everything shown will be copied to the clipboard (as one layer). To secure, start a new blank canvas, paste, and save. Once done, share it!

Recently I started selling on Redbubble. If you have at least 5 artwork files on your devices you can open your own shop there too, no payment for that. Or you can join other print-on-demand platforms, there are many more. Don’t sit on your art
This is roughly all the knowledge I have to start drawing with Procreate. Thanks for reading 💗

Leave a comment